

First decide on the location to set up the tent. Four people work together in order and it doesn't take much time to set it up. In order to consider the situation when the tent is removed, it will be more convenient to record the initial matching situation.
There are various types of tents, and there are also different ways of making, matching, designing and combining them.
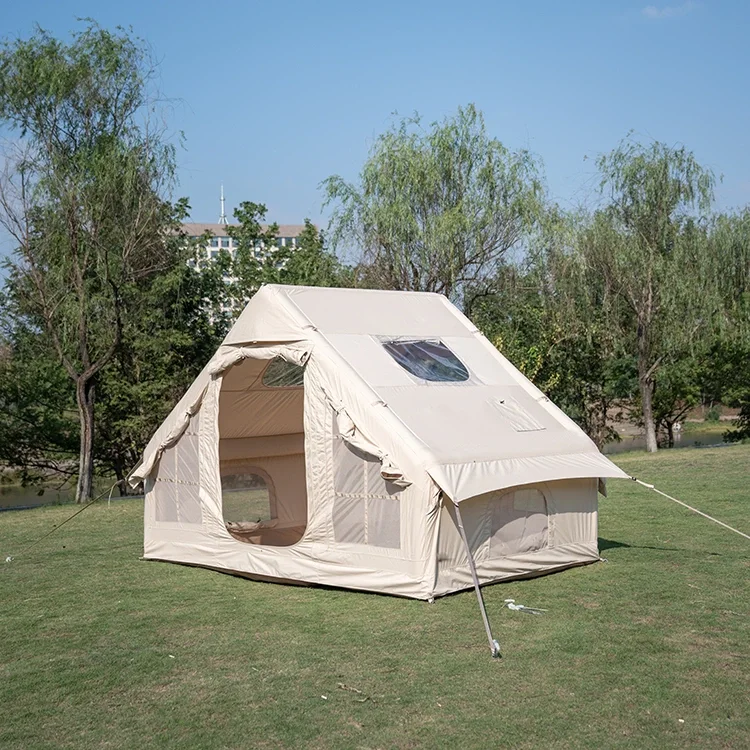
The following takes the wall-type tent, one of the basic tents, which has been quite popular since ancient times, as an example to explain how to set up the tent.
1. Determine the location
After considering the wind direction and terrain, choose a flat place.
2. Check the tent equipment
Pour out the items collected in the bag and check each part one by one. In order to facilitate the removal of the tent and not miss anything, it should be recorded first.
3. Lay the ground mat
After the ground mat is laid, fix the four corners with nails. If it is in a humid place, lay the mat first, and then lay the mat on it.
Real shot of disaster relief tent
4. Erect the pillars and pull the main ropes
Put the bottom of the pillars through the holes at both ends of the ground mat. At the same time, the tip of the upper part of the pillars is inserted into the holes of the two pillars of the curtain pillars, and pull up the left and right main ropes to avoid left and right tilting. In this way, the main shape of the tent is formed.
5. Adjust the main ropes, pull up the corner ropes and waist ropes
Use the supporting ropes attached to the main ropes to adjust the shape of the tent and stand the two pillars vertically on the ground. Secondly, use the supporting ropes to adjust the corner ropes and waist ropes to make the shape of the tent appear.
6. Fix the wall
Connect the tent base, ground mat and the lower part of the wall.
The above is the order of setting up a wall-type tent. Four people work together and can complete it in about 10-15 minutes in a skilled state.
Usually, in order to reduce the impact of wind, rain, exposure and severe cold, a roof cover will be added. In step 4, when inserting the pillars into the holes at both ends of the building, first add the roof cover, then pull up the main rope. After the main rope is fixed with nails, use the end points of the roof building as the vertices to form two sides of an equilateral triangle, and pull the length of the bottom side to the same length as the pillar. From the top of the roof, the corner rope should be on the extension of the diagonal line, and the waist rope should be in a straight line with the corner rope.
In the past, after the tent was set up, ditches could be dug around it. Now, we must stand on the position of protecting nature, and no ditches will be dug unless it is in a puddle.
If you are interested in our products or have any questions, please feel free to contact us and we will reply you within 24 hours.


